
Crawl Space Encapsulation
What it is, when it helps, and what to consider before deciding whether it makes sense for your home
WHAT CRAWLSPACE ENCAPSULATION IS
Crawlspace encapsulation is a moisture-control upgrade that typically involves covering exposed soil with a durable vapor barrier and sealing the crawlspace from outside air. Depending on the home, the system may also include wall coverage, sealed vents, drainage improvements, and humidity control.
The goal is to create a drier, more controlled environment beneath the home and reduce the amount of ground moisture and humid outside air entering the crawlspace.
WHEN IT MAY BE USEFUL
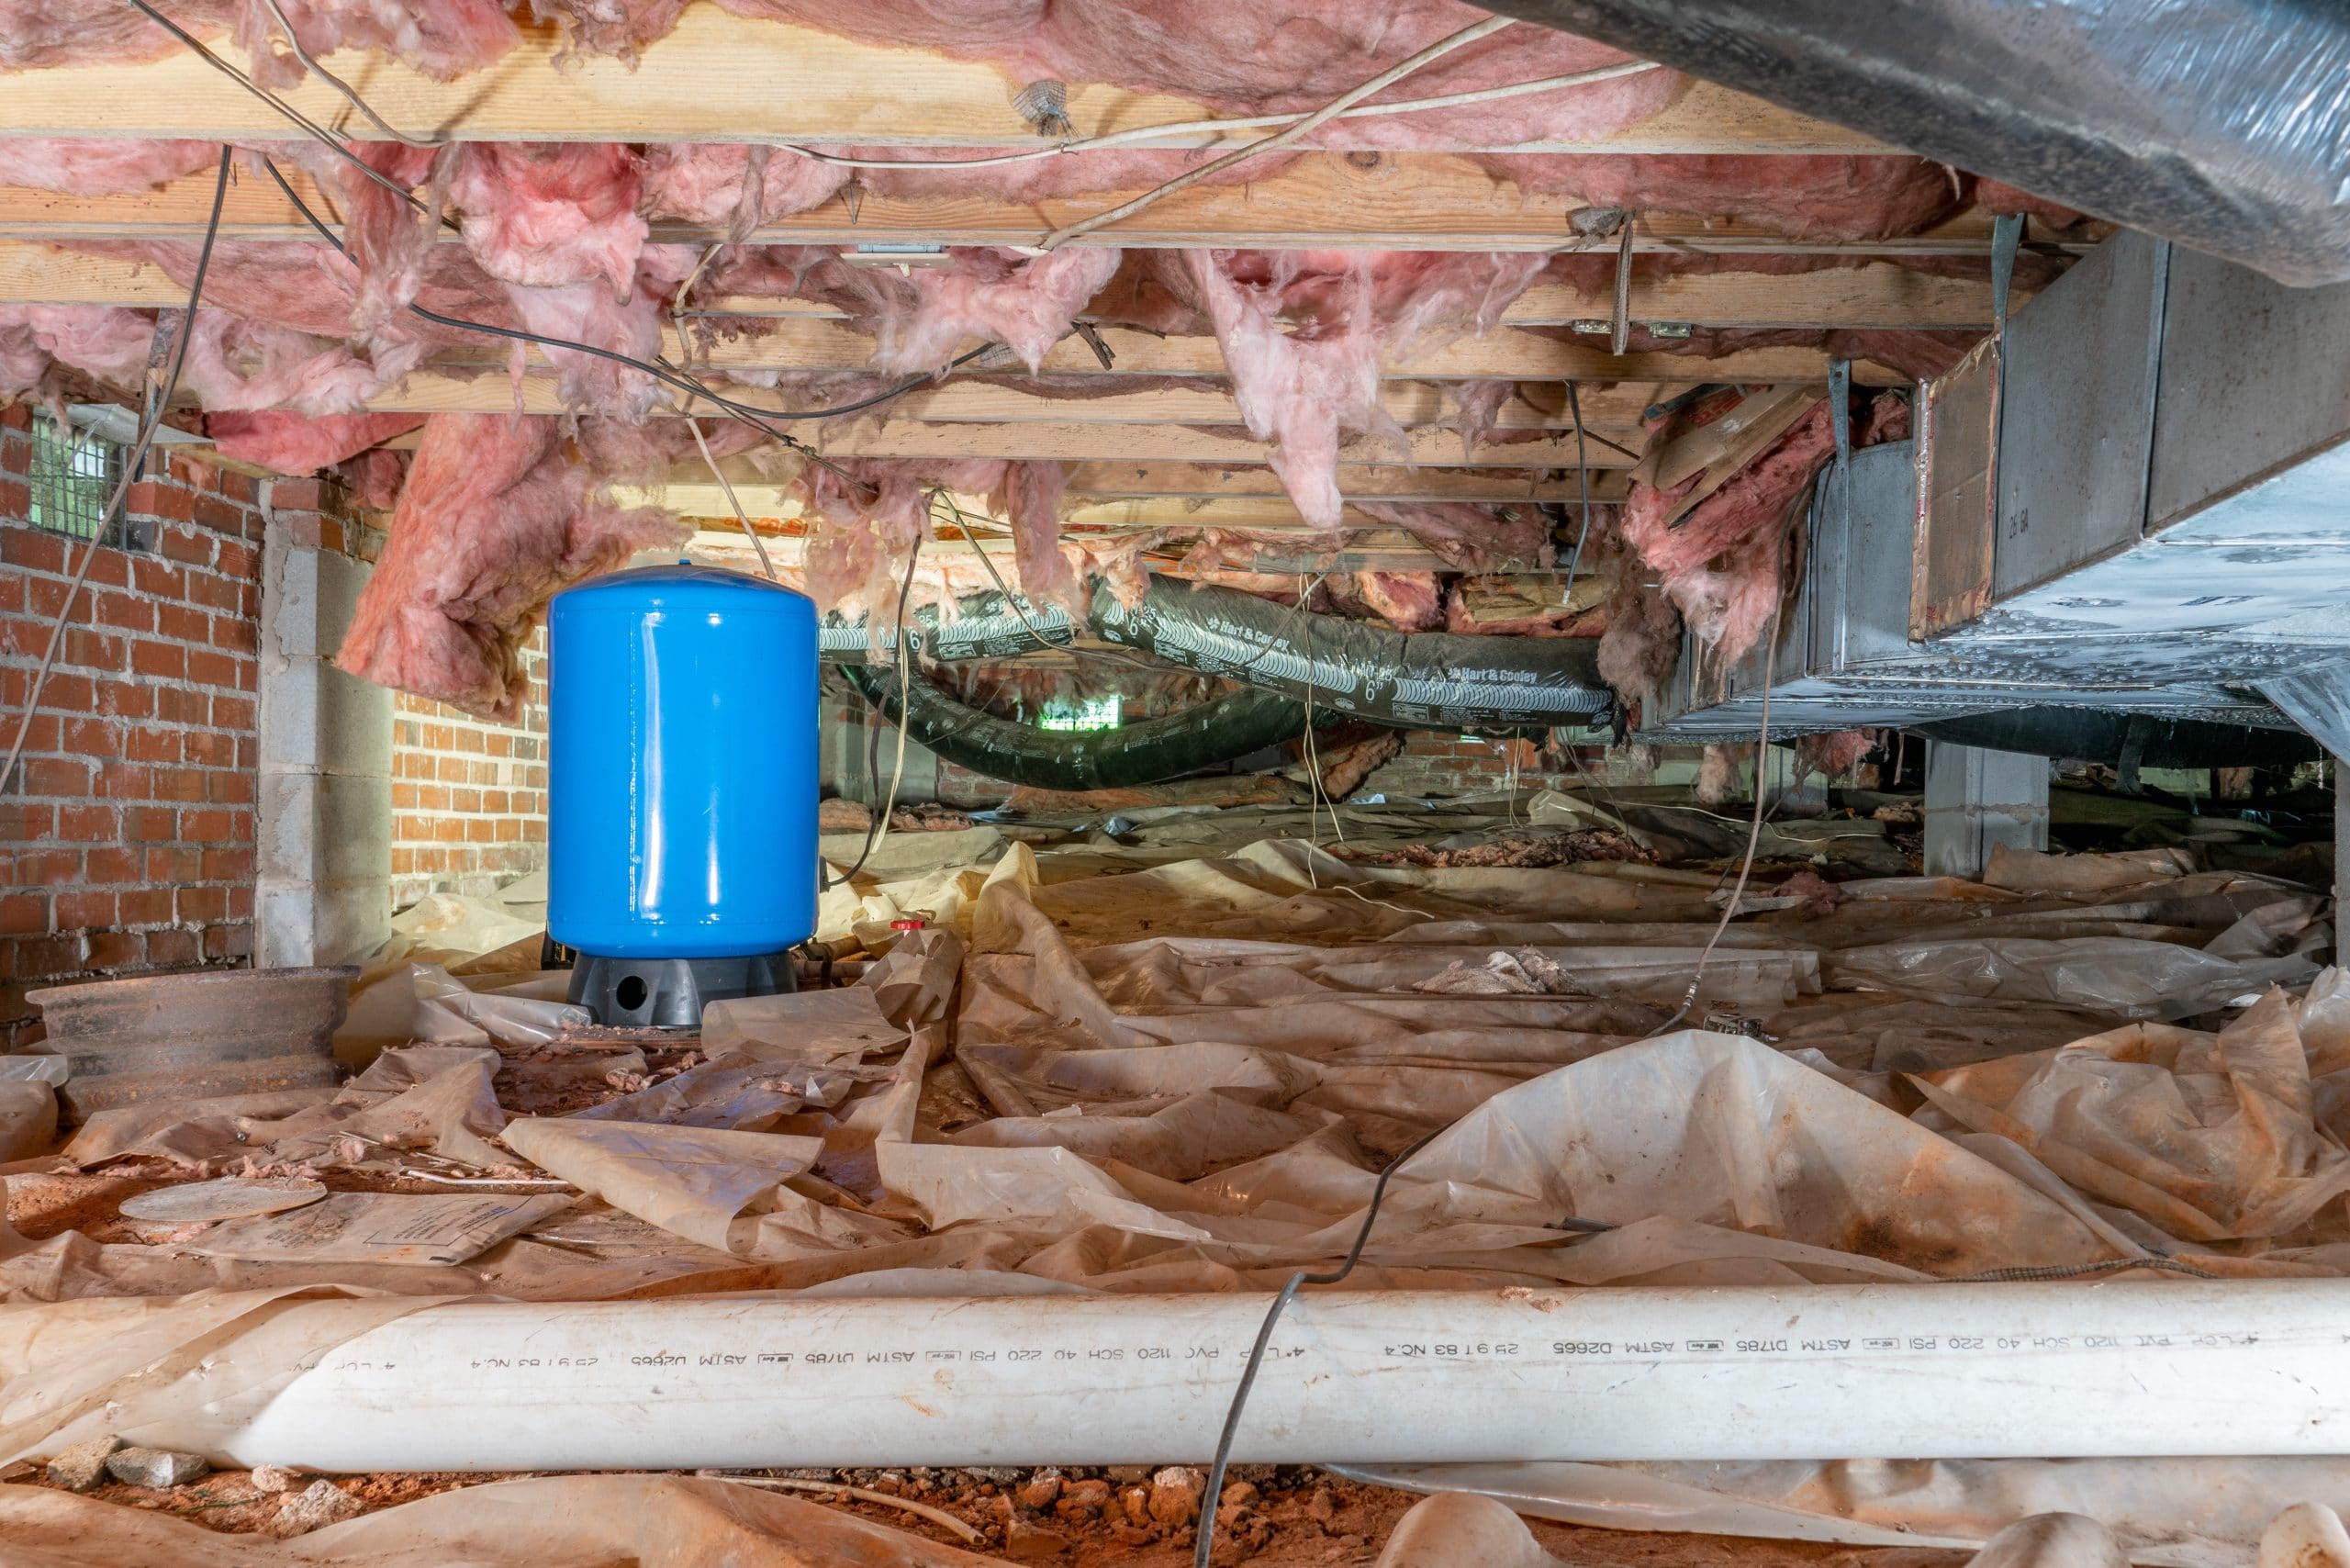
Encapsulation can be worth considering when a crawlspace has persistent humidity, damp soil, musty odors, condensation, deteriorated insulation, or other moisture-related concerns.
It can also be a useful preventative upgrade in crawlspaces that are currently functioning reasonably well but would benefit from better long-term moisture control. In many inspections, I recommend encapsulation as an improvement rather than as an urgent repair.

WHAT A GOOD SYSTEM USUALLY INCLUDES
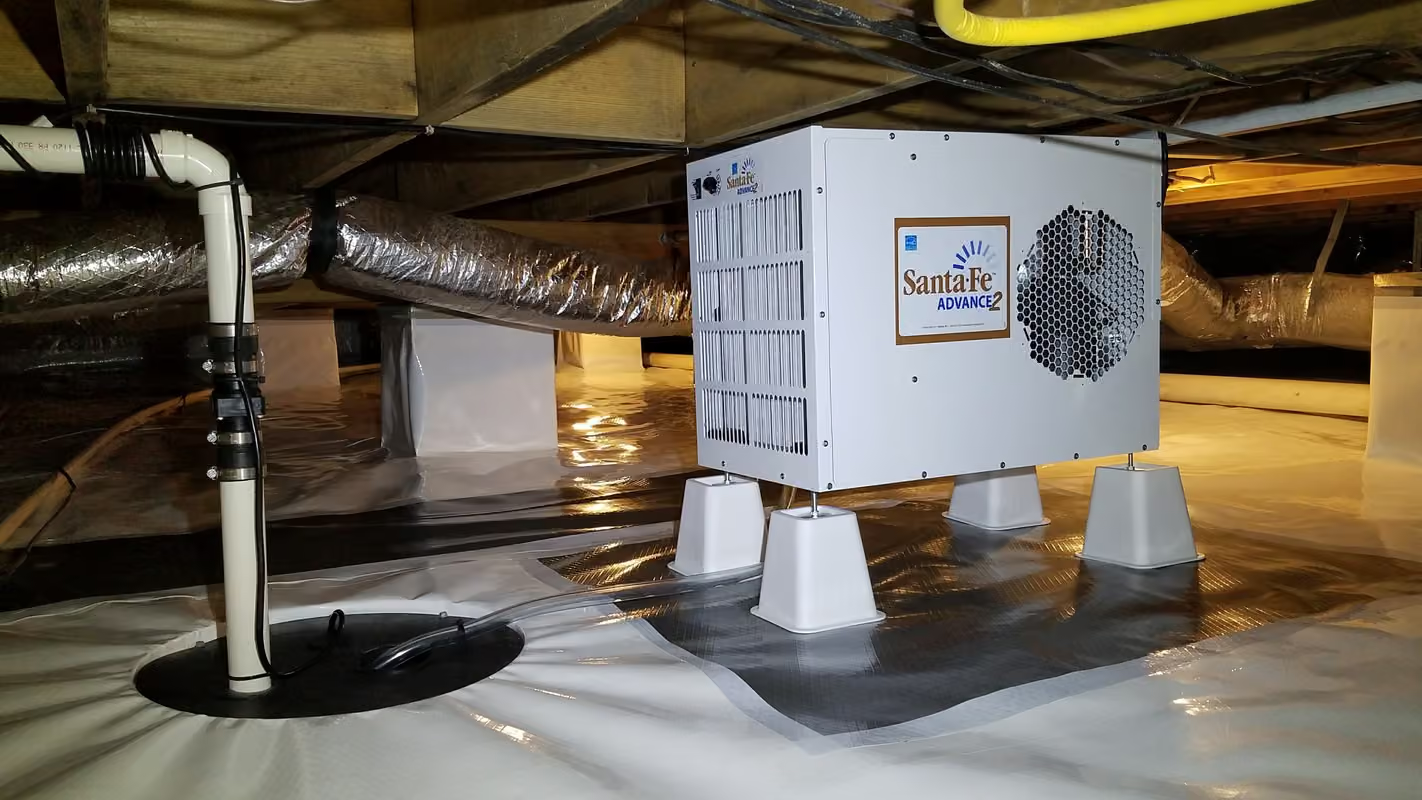
A complete encapsulation system is more than simply laying plastic over the ground. Depending on the crawlspace, a properly designed system may include a heavy-duty ground vapor barrier, sealed seams and penetrations, coverage of portions of the foundation walls, sealed exterior vents, and a method of controlling humidity.
Homes with drainage or groundwater concerns may also need additional measures such as perimeter drainage, a sump pump, or other water-management improvements.
WHAT ENCAPSULATION DOESN’T FIX
Encapsulation is most effective when the underlying moisture sources are understood first.
It should not be used as a way to simply cover up active plumbing leaks, foundation water entry, poor exterior drainage, or other ongoing water problems. If water is actively entering the crawlspace, those conditions should be evaluated and corrected as part of the overall moisture-control plan.
In other words, the vapor barrier is part of the solution — not a substitute for fixing the source of the water.
WHAT WE LOOK FOR
When inspecting an encapsulated crawlspace, we look at the visible condition of the vapor barrier, seams, wall attachment, access points, drainage conditions, and signs of moisture or damage.
We also look closely at whether the encapsulation has been installed in a way that still allows for termite inspection. Vapor barrier or spray foam should not extend all the way to the sill plate or completely cover the top of the foundation wall. A visible inspection gap should remain so the sill plate and a portion of the foundation wall can be checked for termite activity or other concerns.
We also consider whether the system still allows reasonable access to structural components, plumbing, HVAC equipment, and other areas that may need to be inspected or serviced.
MAINTENANCE & ACCESS
Encapsulation is not completely maintenance-free.
The crawlspace should still be checked periodically for plumbing leaks, standing water, damaged or loose vapor barrier material, failed dehumidifiers, and other changes that could affect how well the system is working.
Service work can also damage or disturb the barrier over time, so seams and penetrations may occasionally need to be repaired or resealed. It’s also important that the encapsulation be installed in a way that preserves inspection access. Vapor barrier or spray foam should stop short of the sill plate so the sill plate and a visible portion of the foundation wall remain exposed for termite inspection.
Maintaining reasonable access is important so plumbers, HVAC technicians, pest-control professionals, and inspectors can continue to evaluate the space when needed.
HOW CRAWLSPACE ENCAPSULATION IS TYPICALLY DONE
STEP 1: PREPARE THE CRAWLSPACE
Debris, sharp objects, and other material that could damage the vapor barrier are removed, and the ground is cleaned up so the system can be installed properly. This is also a good time to identify any obvious moisture, drainage, or access issues that need attention before the space is sealed.
STEP 2: ADDRESS WATER & DRAINAGE FIRST
Active plumbing leaks, foundation water entry, poor exterior drainage, standing water, and other moisture sources should be corrected before encapsulation is completed. If water is still entering the crawlspace, covering the ground alone will not solve the underlying problem.
STEP 3: INSTALL & SEAL THE VAPOR BARRIER
A durable vapor barrier is installed over the exposed soil and typically extended around columns, piers, and other penetrations. Seams are overlapped and sealed so the barrier functions as one continuous moisture-control layer.

STEP 4: SEAL THE CRAWLSPACE FROM OUTSIDE AIR
Foundation vents and other unnecessary exterior openings are typically sealed to reduce humid outside air entering the crawlspace. Plumbing, wiring, and other penetrations may also be sealed where appropriate.
STEP 5: CONTROL HUMIDITY
Once the space is sealed, humidity still has to be managed. This is commonly done with a dehumidifier or another approved conditioning method designed to keep the crawlspace dry and stable throughout the year.
STEP 6: KEEP THE SPACE ACCESSIBLE
A good encapsulation system should still allow reasonable access to plumbing, HVAC equipment, structural components, and areas that may need to remain visible for termite inspections. The goal is to improve the crawlspace without making future inspection, maintenance, or repair unnecessarily difficult.
GETTING THE WORK DONE
Crawlspace encapsulation can be handled by a professional contractor or, for homeowners who are comfortable with this type of work, as a DIY project. The right approach depends on the condition of the crawlspace, the amount of water or drainage work involved, and how comfortable you are taking on the installation yourself.
If the crawlspace has active water entry, drainage problems, structural concerns, or other complications, professional evaluation is usually the better place to start.
PROFESSIONAL INSTALLATION
American Foundation & Waterproofing
A regional contractor offering foundation, waterproofing, and crawlspace-related services.
Crawl Space Ninja
Crawlspace specialists offering encapsulation, moisture control, drainage, and humidity-management systems. They also have a Knoxville service area.
Master Foundation and Crawl Space Repair
East Tennessee contractor offering crawlspace repair, waterproofing, foundation repair, drainage, and dehumidification solutions.
These companies are provided as helpful starting points based on our experience and familiarity with their work. We recommend reviewing the proposed scope and pricing before proceeding.
DIY RESOURCES
For homeowners who are comfortable doing the work themselves, encapsulation can also be a realistic DIY project and may significantly reduce labor cost.
Vapor barrier, seam tape, wall fasteners, dehumidifiers, drainage products, and even complete DIY encapsulation kits.
Their store is a useful starting point for understanding the materials involved and building a materials list for your crawlspace.
